If your brain is the control room, then your gut is the engine room. It’s here where all the goodness (and badness) gets sucked out of the various things we munch throughout the day. This is where innumerable enzymes, transporter proteins and various other bits of the gastrointestinal machinery get the job done. It’s also home to a magnificently large number of tiny specks of life, collectively referred to as microbes. These bugs are mostly bacteria, but they also include fungi, viruses and even more obscure life-forms.
A common factoid is that there are more microbial cells in the body than human cells. I’m pretty sure no one has counted it out, but there is at least quite a few of them and they almost certainly play a major role in immunity, metabolism and digestion and likely also affect things like mood, and even behaviour.
The ultimate probiotic
With that in mind, how do we encourage the right sort of microbes to take up residence in our intestines? One rather excellent way of doing this, is to feed yourself with kefir, which is basically milk that has been fed to some knobbly blobs of bacteria and yeast called kefir grains. If you’ve ever taken a probiotic, then kefir is like the ultimate probiotic. When you consume it, you’re taking in a really hefty dose of beneficial bugs.
If you suffer from digestive difficulties like IBS, which are often linked to a bad mix of microbes in your gut, then you could possibly benefit from drinking kefir. Kefir is also tasty and fun to make, so why not give it a go! Have a read through to see how I make and use kefir at home.
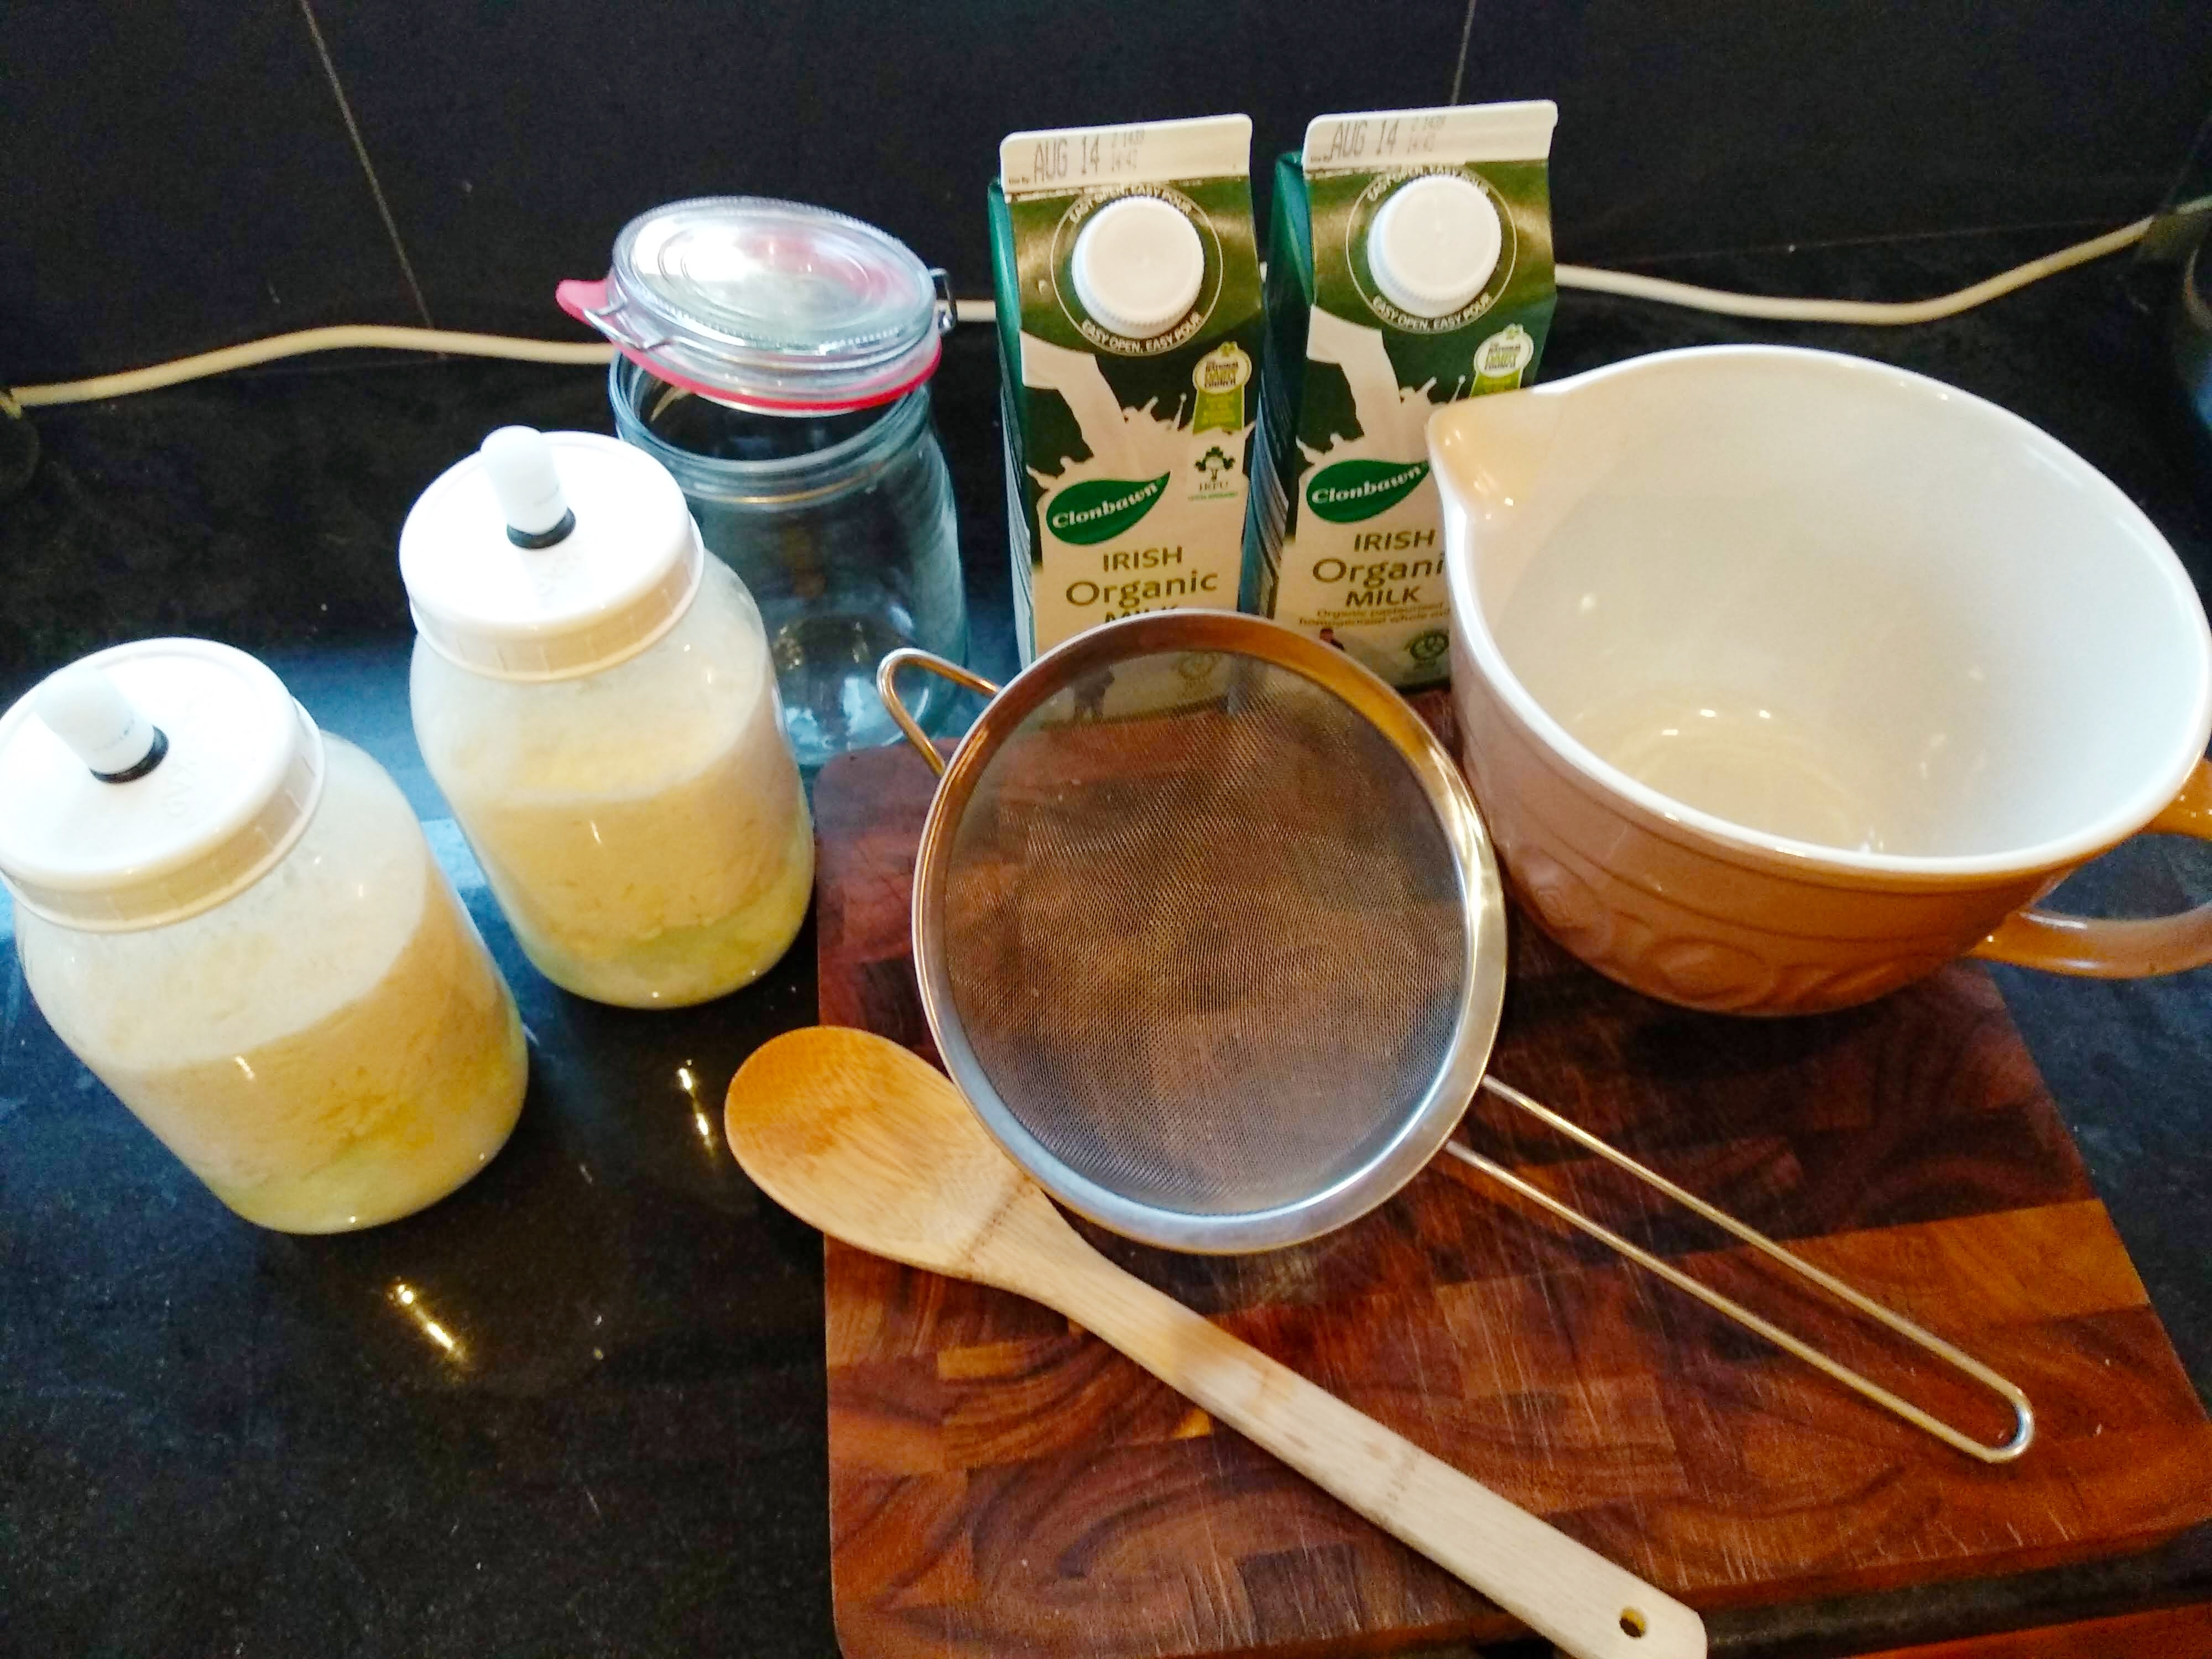
What you need
- Kefir grains – I got mine from a local health food shop that was giving them away! All I had to do was sign up and wait for them to let me know when they were available, and then I picked them up.
- Glass/porcelain jars/bottles with lids. You need at least two – one for fermenting the grains and milk and one for storing the milk kefir once it’s fermented. If you don’t have lids you can also cover the jar with cloth and secure with an elastic band.
- Milk. I use full fat dairy milk as I found it resulted in the tastiest, creamiest kefir, but you can use low fat milk if preferred. I have also heard that non-dairy milks can work too, which would be a fun experiment.
- Sieve/strainer. You may read that you shouldn’t use metal utensils when making kefir, but as the kefir won’t be in the strainer for a long period it will be fine. Don’t store your kefir in metal though, use glass or porcelain instead.
- Large bowl – large enough to strain the kefir into once it’s fermented.
- Large spoon.
How to prepare your kefir
- Put the kefir grains into a large glass jar and cover with milk. You want to cover the bottom of the jar with the grains, and fill the jar about two-thirds full with milk. The higher the ratio of grains to milk is, the quicker it will ferment. Make sure you don’t fill the jar to the top, as you want to leave some space for the gas to escape.
- Leave the kefir and milk to ferment for at least 24 hours. You will notice that the milk becomes thick, almost like custard or yoghurt. You can leave it for longer if you like, but be aware that the kefir will taste more sour the longer it has been fermented.
- Once you’re happy with how your kefir is looking, you’re ready to strain the grains and start again!


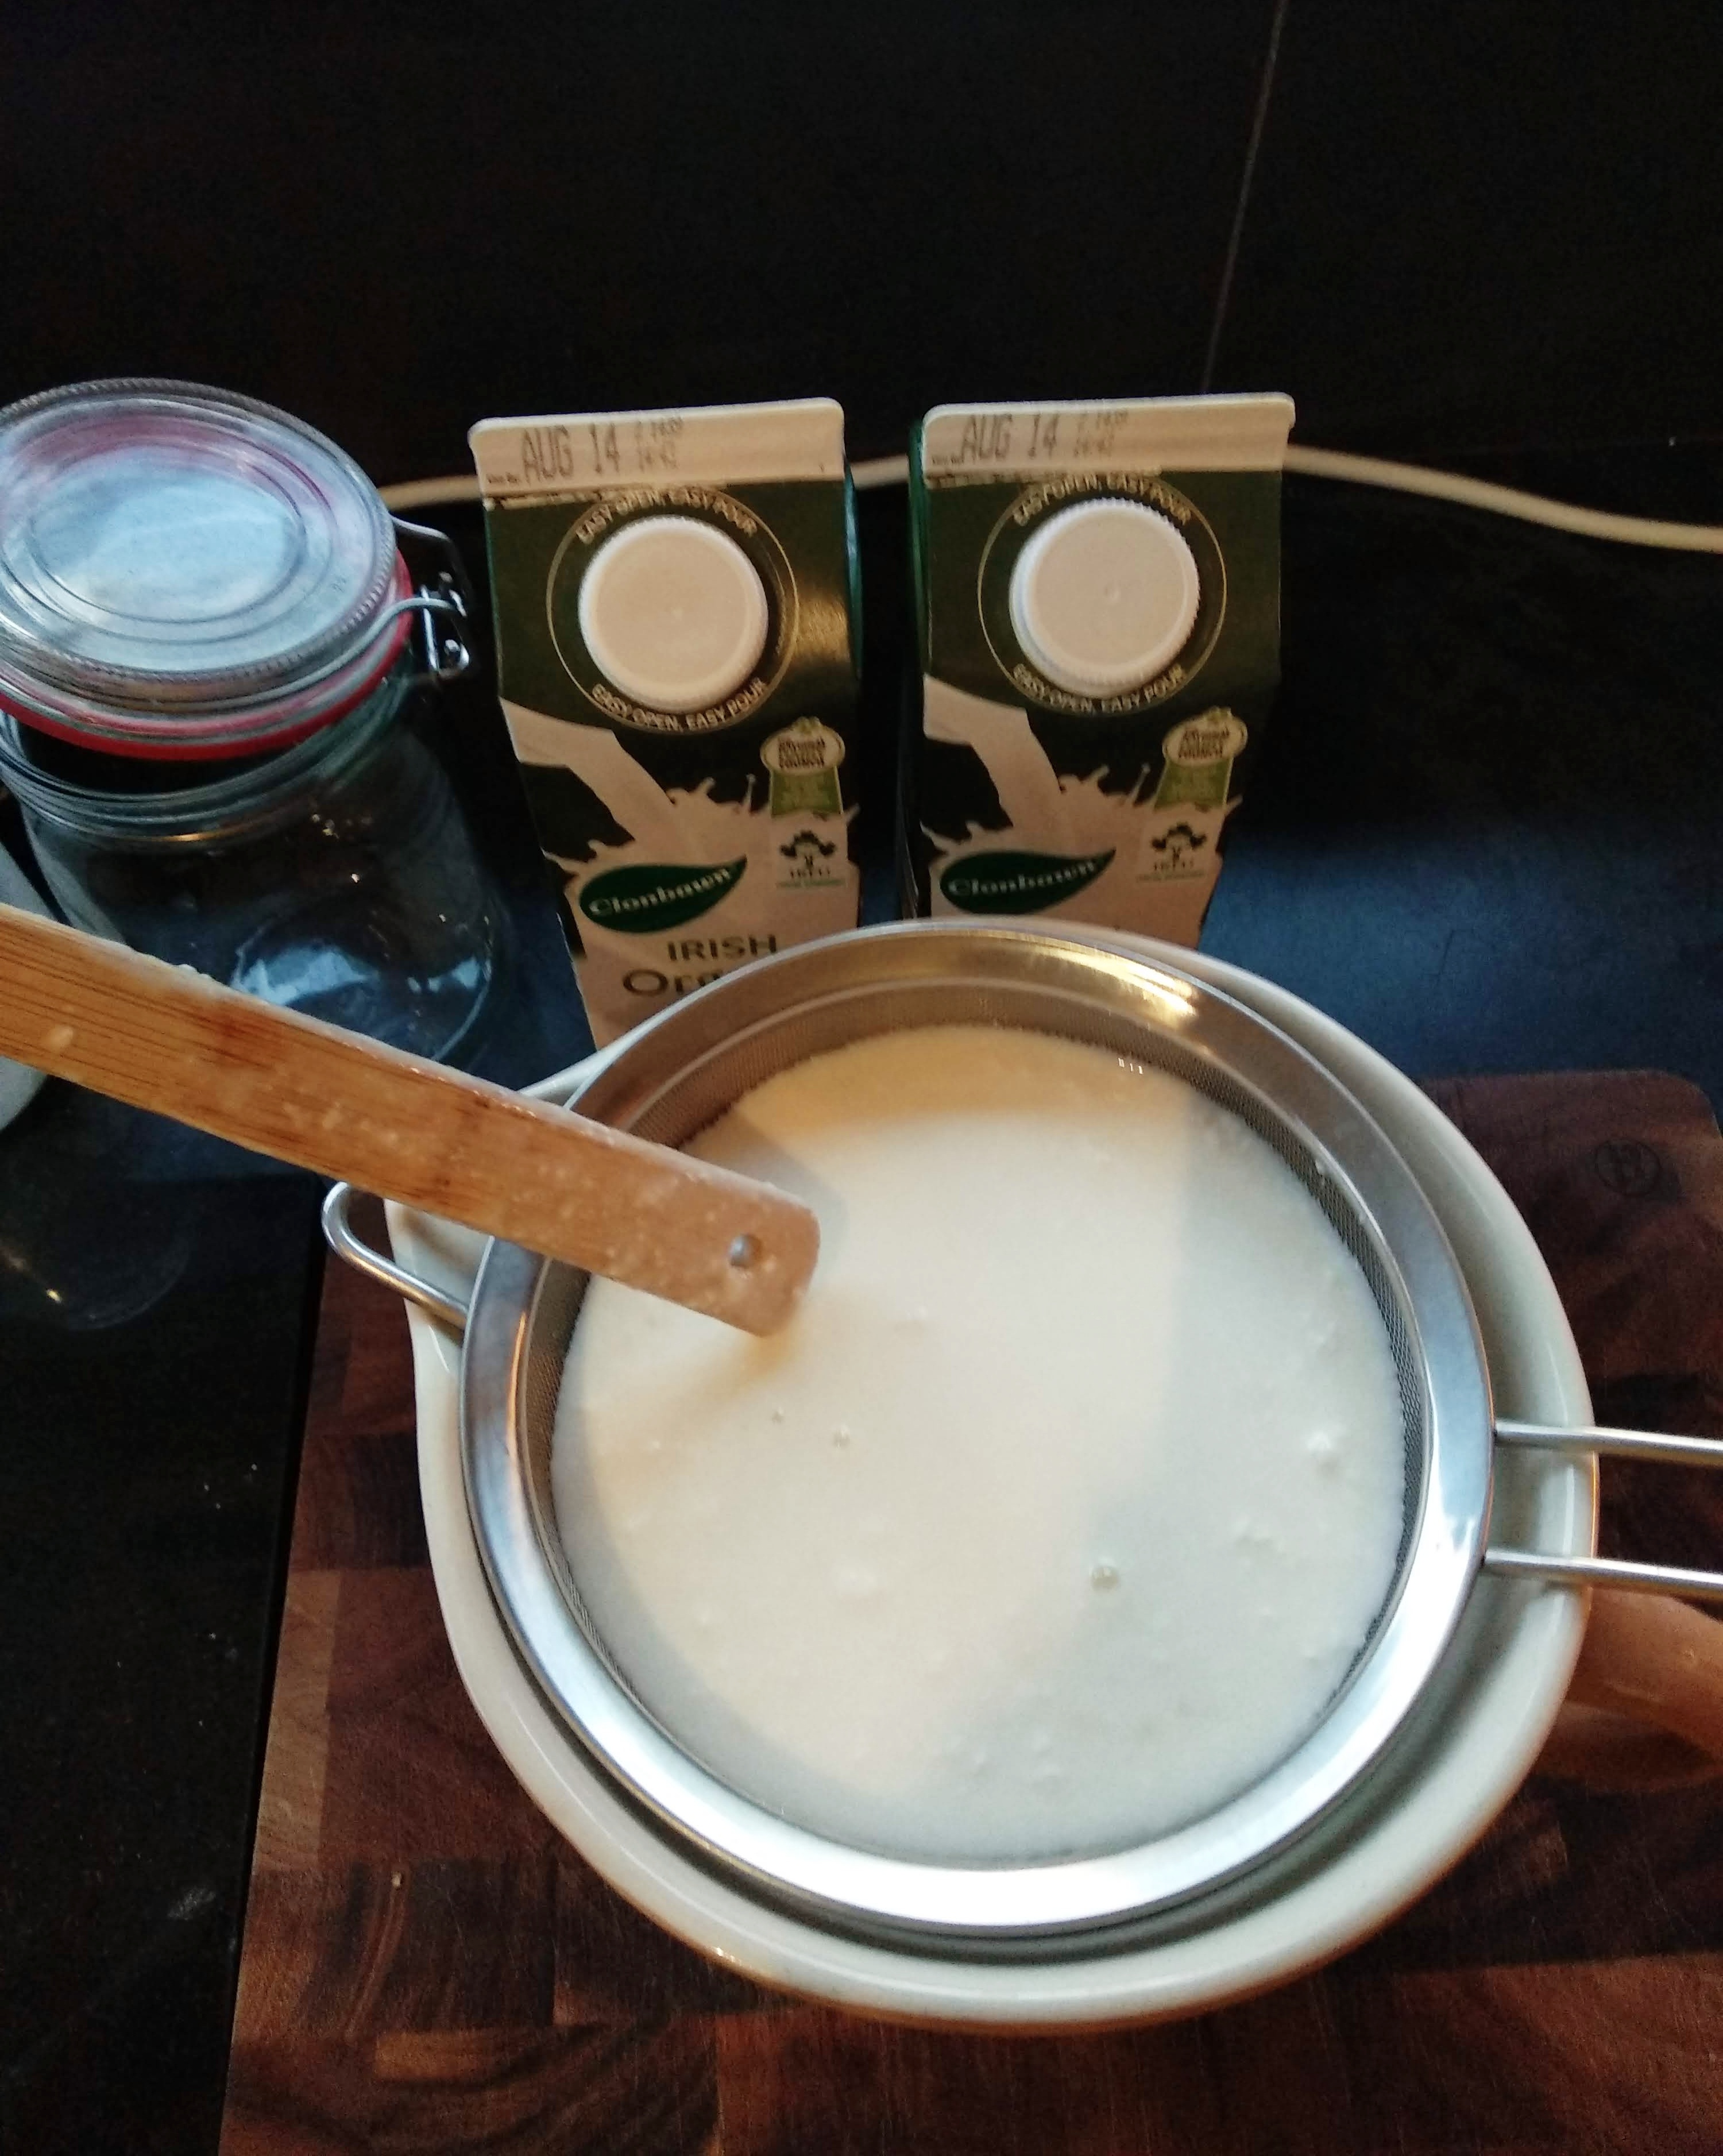
Now to strain the grains!
- Stir up your kefir and grains so they’re evenly mixed.
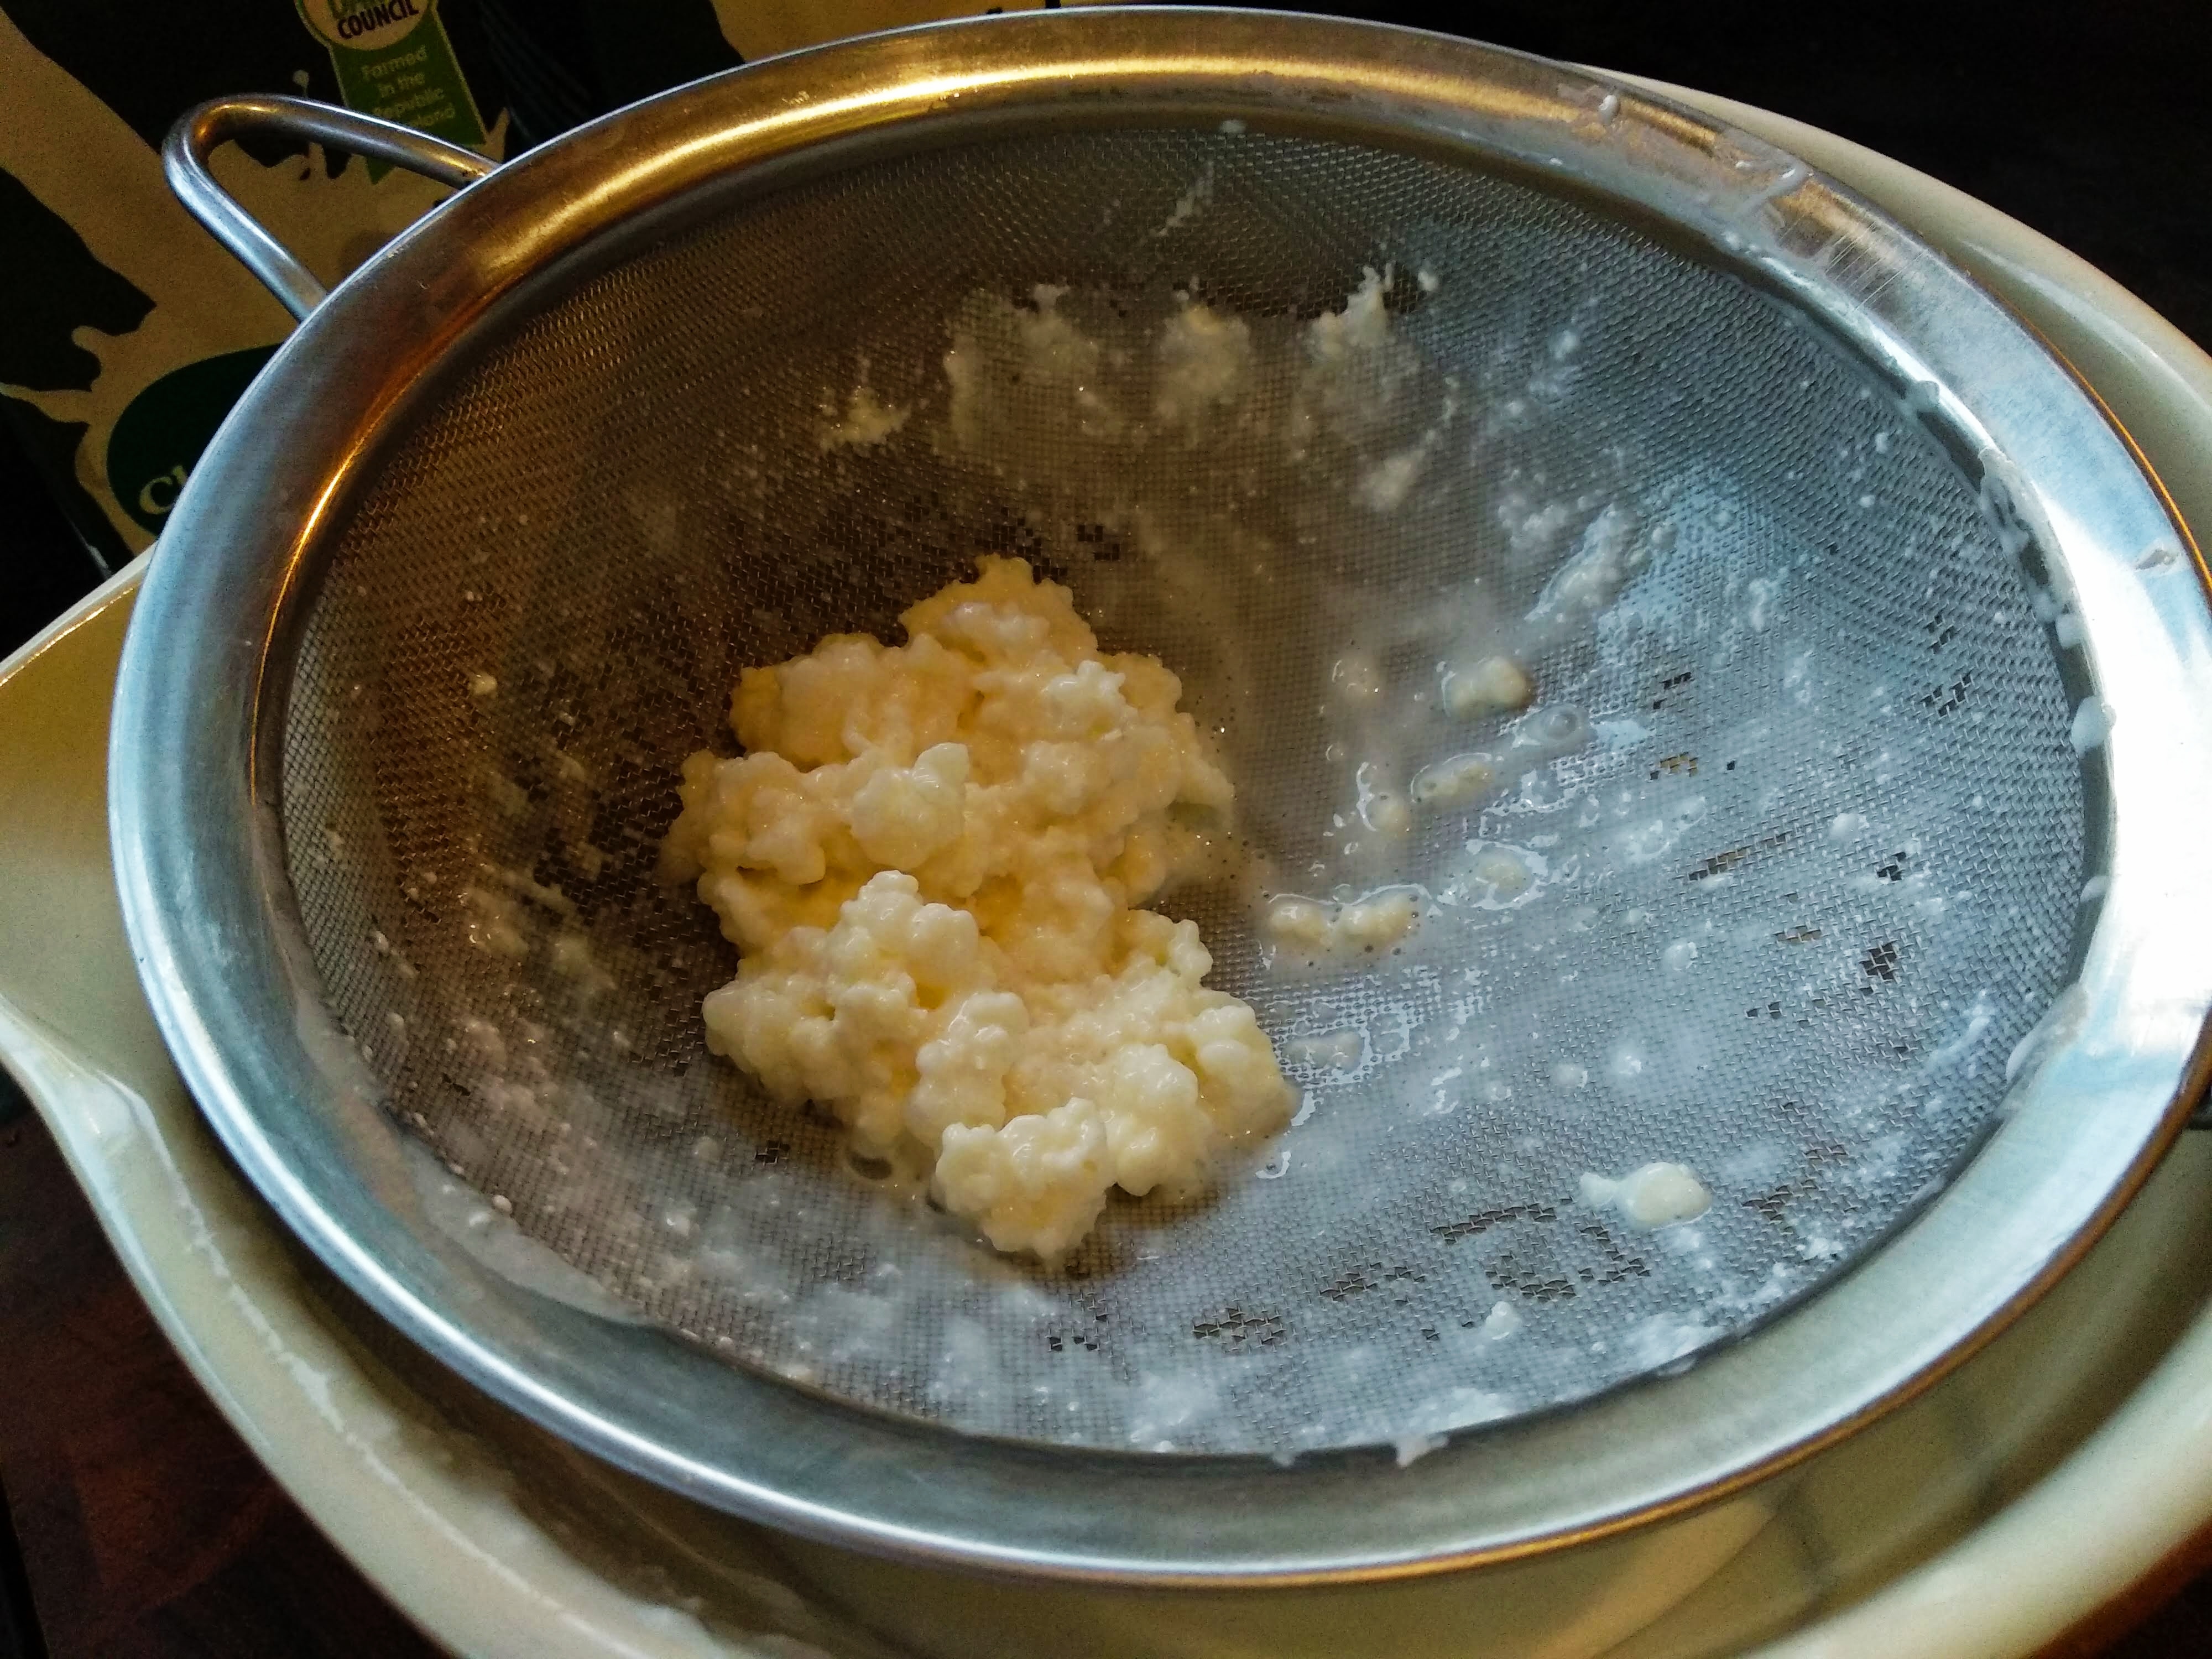
- Pour them into your sieve/strainer while it’s resting over your bowl.
- You can leave the kefir to strain through by itself, but I found that this can take a long time! I use the spoon to give the kefir a little push through the strainer.
And start it all over again!
Once you have strained your kefir into the bowl, pour the kefir into another glass jar/bottle to store in the fridge for drinking.
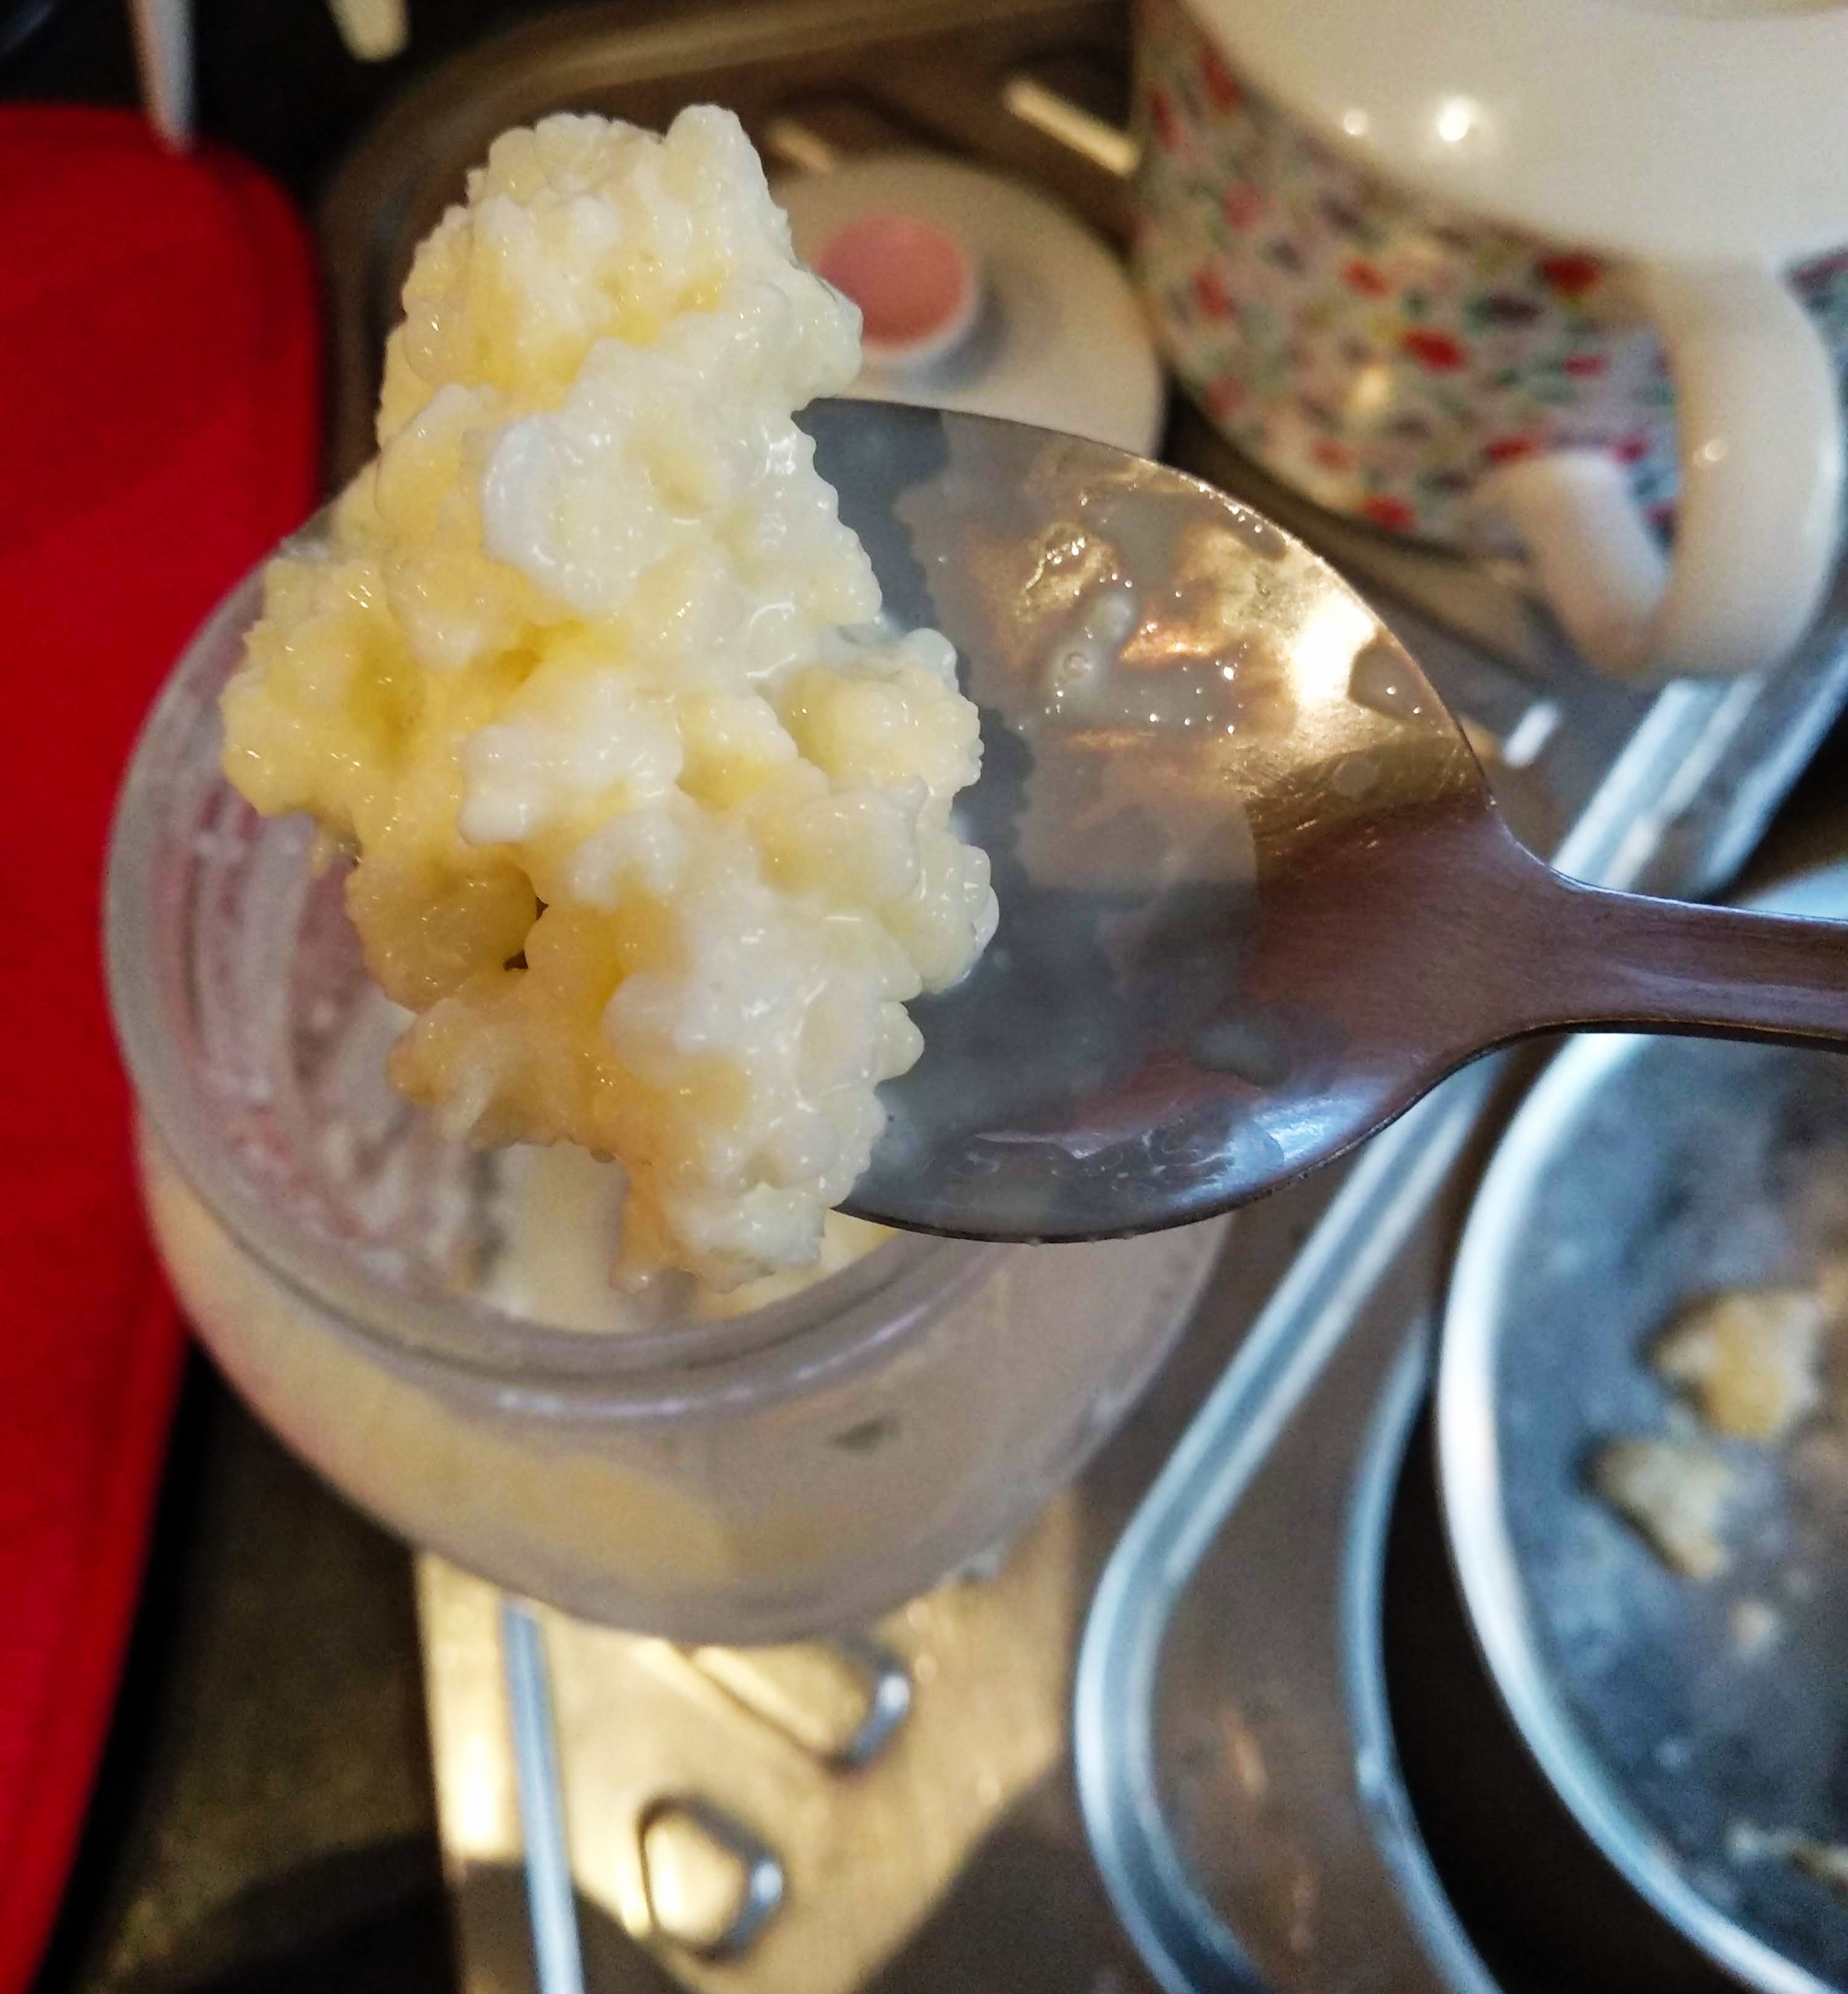
Put your kefir grains back into the jar they just came out of, and top up with milk, to start your next batch!

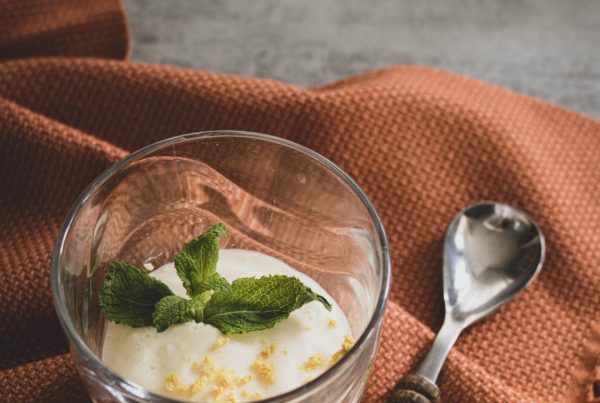
How I use kefir
I keep my kefir in a bottle in my fridge and I make a fruit and kefir smoothie each morning. A favourite combo of mine is banana, honey, a little bit of spinach and kefir. I usually buy a mix of fresh and frozen fruit when I do my weekly shop and I just throw in whatever sounds good that morning – pineapple, strawberry and kefir is also very good!
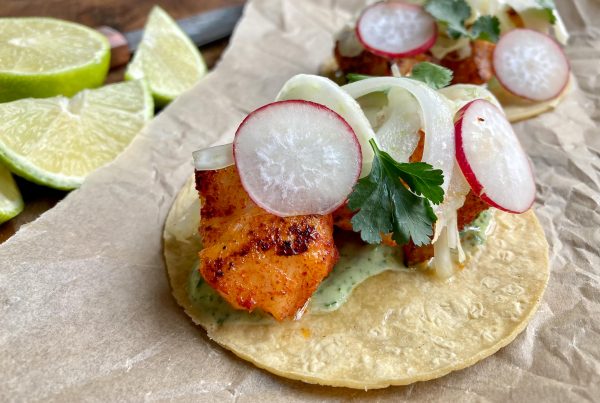
You can also use kefir in baking, in place of buttermilk. I like to make this soda bread using wholemeal and white spelt flour, maple syrup instead of the honey and kefir instead of the buttermilk. It’s really quick to make and tastes great!
They’re aliiive!
Remember, your kefir grains are alive, so you have to keep regularly feeding them with fresh milk to keep them happy. As you keep feeding and straining them, you’ll start to notice them growing and getting bigger! At that stage, you can offer to give an interested friend some kefir grains (and a link to this article!) to get them started. If you’re going away on holiday and won’t be able to feed our grains for a while, don’t worry. You can put them in the fridge (in fresh milk) and they’ll keep for about a month!
If you’re interested in reading about other types of fermented foods, have a read of these blogs:
Fabien’s lacto-fermentation experiment: Lacto-Fermentation – new flavours from familiar places
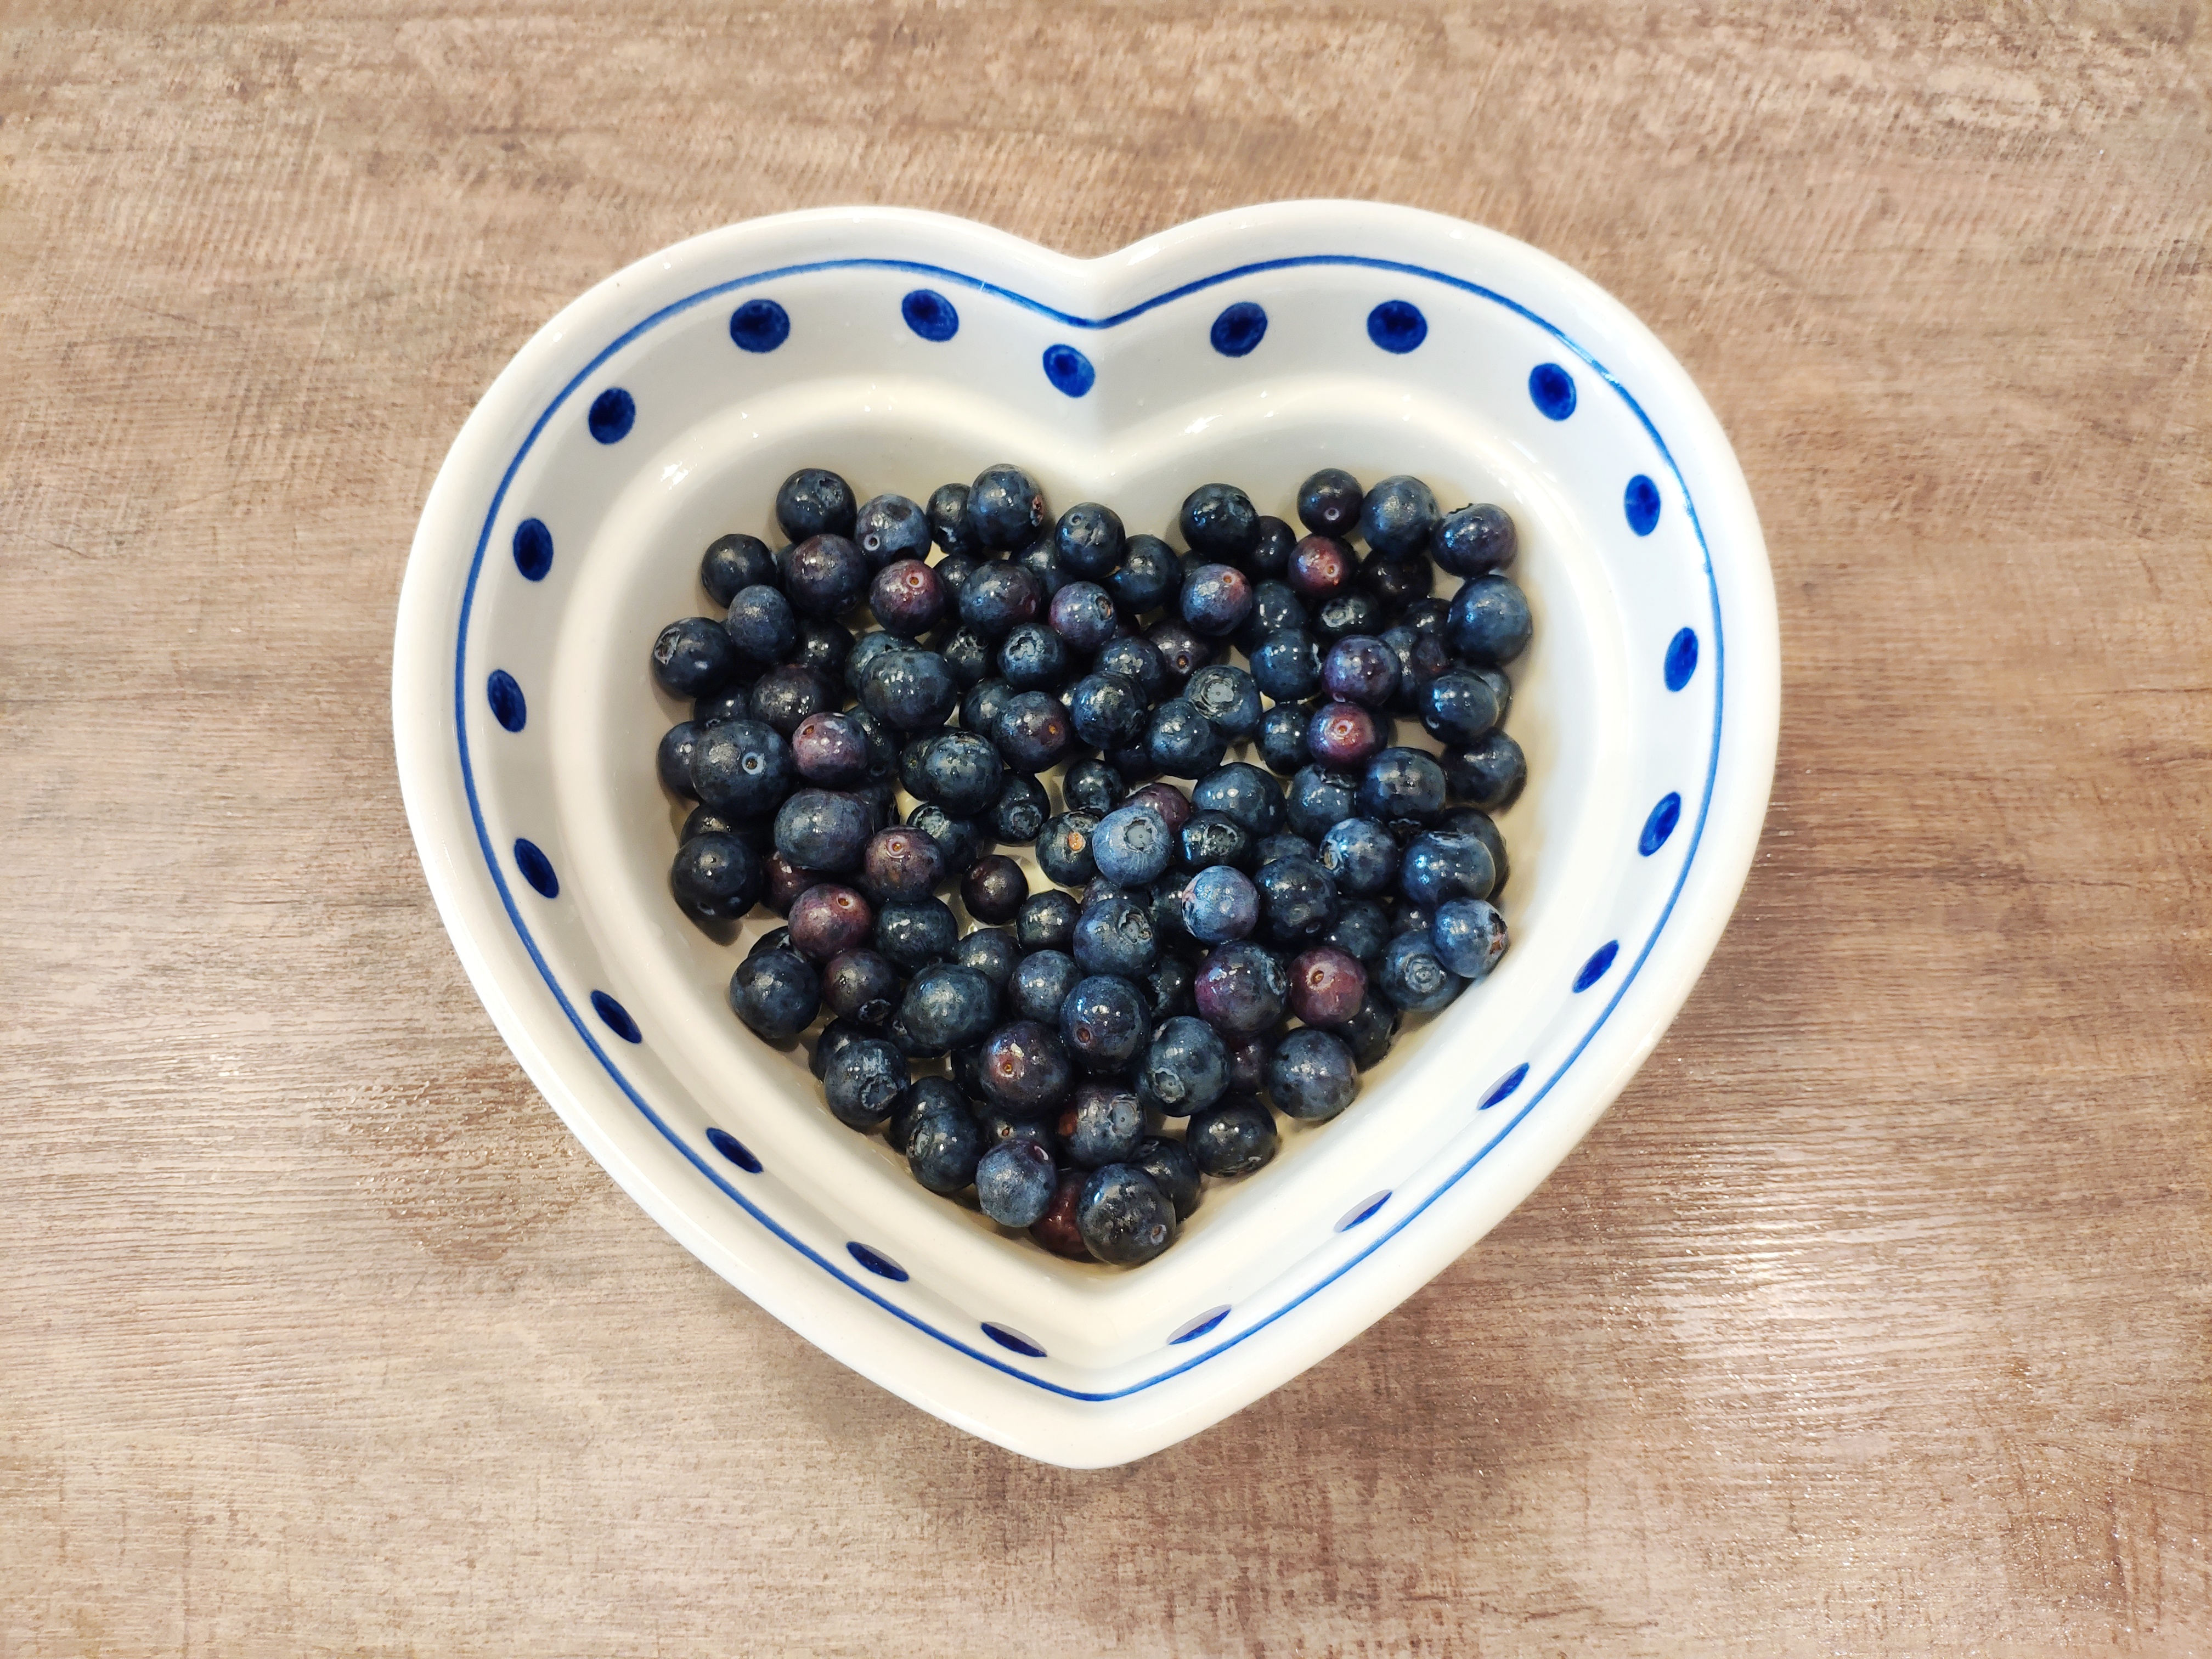
Claire’s review of research into the health benefits of fermented blueberries
FoodMarble AIRE is the world’s first personal hydrogen breath tester. It is a pocket-sized breath analysis device. It helps people with chronic digestive issues determine the foods that work best with their digestive system. To learn more about AIRE, visit www.foodmarble.com
