Walk into any health food shop or lunch spot and you will probably spot some variety of kombucha in the fridge. It is becoming more prevalent and mainstream now. It’s not new though – kombucha has actually been around for hundreds of years! However its exact origin is unknown. Although the word kombucha is Japanese, the drink is thought to have come from China or Russia. In fact, it has 80 other names around the world! One thing that is consistent across all cultures who consume it is the acknowledgement of its health benefits.
As a fermented drink it includes all the health benefits associated with other fermented foods, which is related to increasing the good, natural bacteria in your digestive system, and combatting the bad bacteria. There are other loftier claims, but a lot of these are unconfirmed. However testing is ongoing and we’re looking forward to seeing the results.
All that aside, it is a delicious drink that can offer a healthy alternative to those who crave fizzy drinks. Given that the raw materials required to make it are quite cheap, drinking kombucha instead of a Coca Cola at lunch could save you some money and help improve your overall health and wellbeing.
Kombu…what now?
So, what is kombucha? Well traditionally it is a fermented sweetened tea. The fermentation occurs by adding what is called a Symbiotic Culture of Bacteria and Yeast (or SCOBY). It is this living organism that feeds on the sugars of the sweetened tea and ferments the drink. Interestingly as the SCOBY contains two different fermentation media (the bacteria and the yeast) you get a two-stage fermentation happening in the tea. First, the yeast consumes the sugar and produces an alcohol. The bacteria then feed on this alcohol and produce an acid, giving the kombucha its sharp taste. Not all of this alcohol is consumed by the bacteria, so technically kombucha is mildly alcoholic (generally ranging from 0.5% to 1%). If you read my first fermentation blog you will have seen that the acid produced in the lacto-fermentation process was lactic acid. Here the SCOBY produces mainly an acetic acid (common in vinegars) along with some other acidic compounds. Also from that blog, you’ll know that I’m a big fan of the Noma Guide to Fermentation – an excellent book by fermentation masters! So I’m using this book as inspiration again.
Breaking tradition
You might have noticed how I said kombucha is traditionally made with tea. Well today we’re breaking with tradition and shaking things up! Here at FoodMarble we feel tea based kombucha is pretty commonplace and we wanted something more exciting to make. Indeed, one can find a recipe for tea kombucha on any millennial food blog worth its weight in kosher smoked sea salt! During my reading of the “Noma Guide to Fermentation” they have some excellent recipes, none of which involve tea, so I decided to try one of those.
One recipe particularly caught my eye – a coffee based kombucha. Like most offices, the FoodMarble team run on coffee, so I figured my best chance to get them to like a strange new drink was to flavour it with something familiar. Additionally, the recipe called for used coffee grounds, so I saw this a chance to reduce food wastage. So, I set up a collection jar next to our hot water supply in the kitchen, and over two weeks we collected the requisite amount of ground coffee. These were vacuum sealed to keep fresh until I acquired all the appropriate equipment to start the experiment.
Learning as I go
However, this did not end up in a successful experiment. I am by no means an expert in fermentation and I learn as I go. At the end of the allotted fermentation time in the recipe, the kombucha smelled off. With the risk of water-soluble pathogenic moulds an ever-present fear in brewing kombucha, I decided to start again. I think that I fermented the coffee kombucha for too long, and produced a rancid, over fermented batch.
Try again!
Following this little set back I decided to try a different recipe. A recipe for lemon verbena kombucha in the Noma Guide to Fermentation caught my eye this time around. This beautifully fragrant herb should make a refreshing light kombucha, if done correctly.
The kombucha fermentation process is a little more advanced than my previous lacto-fermentation experiment, so some extra precautions will be taken, and extra gear will be needed.
Lemon Verbena Kombucha Recipe
Equipment
- Large glass jar – when I say large, I mean large. We need a vessel than can hold up to 3l. Alternatively a large plastic container will work, however DO NOT use metal – SCOBYs do not like metal.
- Latex/ Nitrile gloves – during the lacto-fermentation experiment these weren’t required as we were using naturally occurring bacteria in the skin of fruits, and also present on our hands. So, if our hands weren’t visibly dirty, we could not contaminate the batch. Here we really want to limit any foreign bacteria coming into contact with our SCOBY so it will have to be handled with latex (or nitrile) gloves.
- Sterilizer – this is to sterilize our jar and any other equipment we might use – like spoons to stir the mixture. Any shop selling brewing equipment will have a good food safe sterilizer and it should not be too expensive
- Cheesecloth – when we are straining our mixture, we will have to run it through some cheesecloth to get all the bits out. You could use a light tea towel, but again make sure it is very clean, as we don’t want to contaminate at the last step.
- A SCOBY – Finally the star of the show. We must acquire a SCOBY. Remember, this is a living organism that needs to be looked after and can die if not cared for properly. So, getting a good SCOBY is critical. There are several ways to get one. First, find a friend who has one, get a piece of theirs and grow it. Second, try and grow one from un-pasteurised kombucha. When kombucha is sold commercially most brands will pasteurise it, to make sure it is safe and drinkable. This kills any remnants of the SCOBY. However, certain brands sell un-pasteurised kombucha. This will have small remnants of SCOBY in it. If you feed this more sweetened tea and leave it for a long time, these will grow and form a full-sized SCOBY. Lastly, and probably the easiest way to get one is to buy one. Again, most health food shops will sell you one or there are plenty of SCOBY farmers online who specialize in getting you a healthy fresh SCOBY in the post.
Ingredients
- 1.76kg of filtered water
- 240g of sugar
- 20g of dried lemon verbena
- 200g of previous batch of lemon kombucha or liquid that the SCOBY was stored in if it’s your first batch
- 1 SCOBY
Method
- Start by adding 240g of sugar and 240g of the filtered water to a pot.
- Stir this (using a wooden or plastic spoon – NOT metal) while heating to dissolve the sugar and bring to a boil.
- Once the mixture begins to boil, remove from the heat and stir in the 20g of dried lemon verbena.
- Leave to steep for 10 minutes.
- Add the remaining 1.52kg of filtered water and stir.
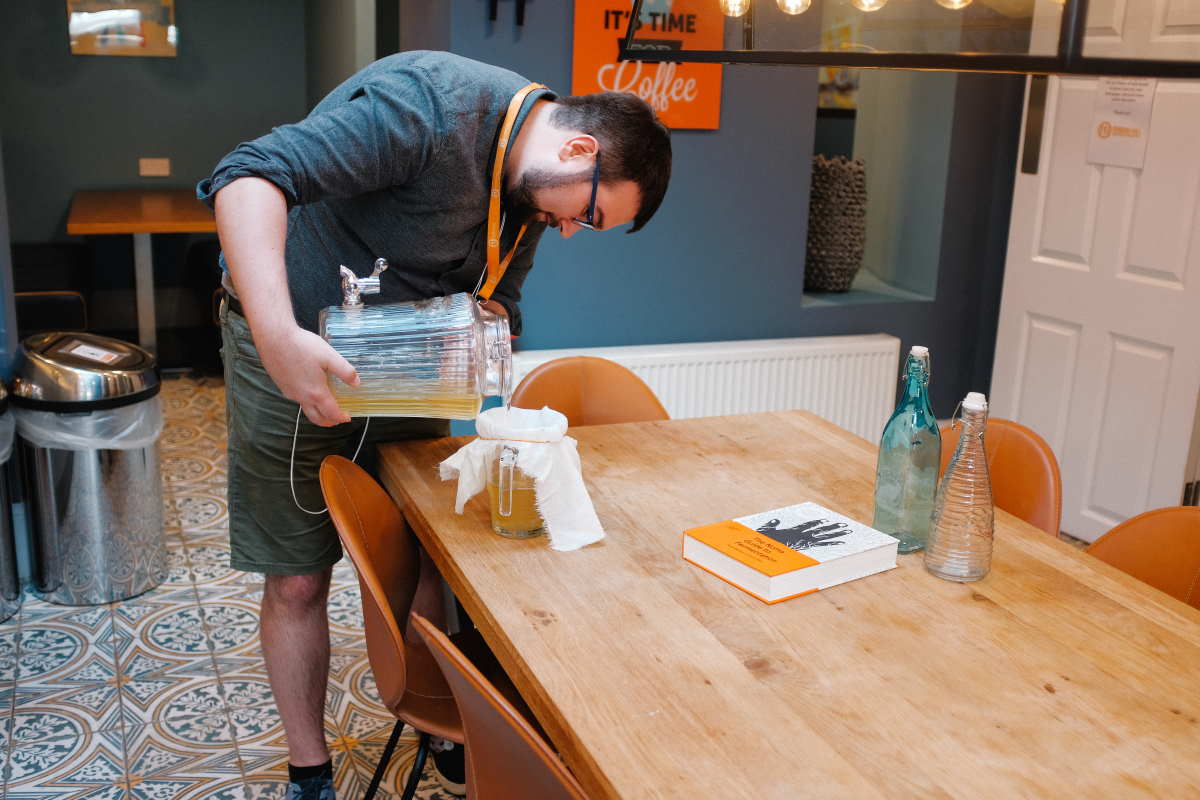
- Pour this mixture through a sieve or some cheesecloth into the fermentation vessel.
- Next add in the 200g of previous kombucha batch (or liquid that the SCOBY came in), and stir (see Note below).
- Finally add your SCOBY and tie cheesecloth over the top with elastic bands. This allows the mixture to breath while keeping intruders out.
- The whole process should take 7-9 days at room temperature. Taste a little every couple of days after starting, to track the acidity. Once sour enough it is done.
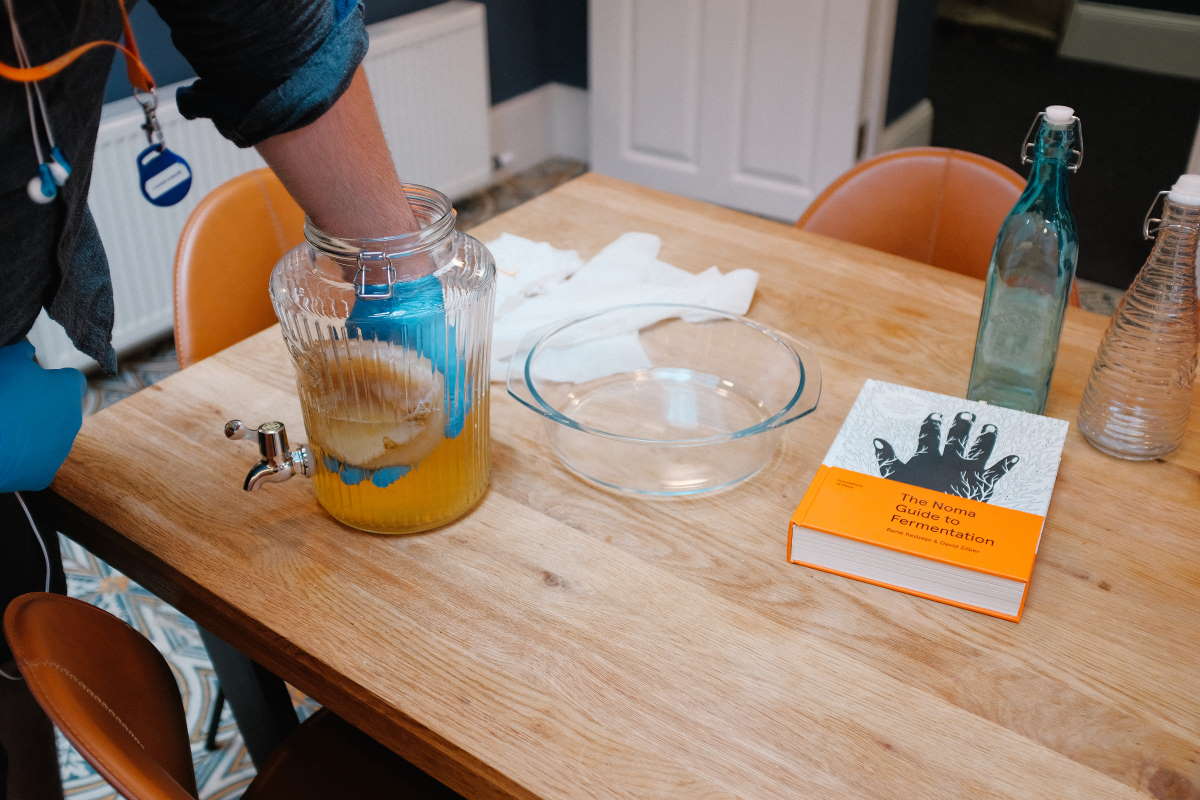
- Using gloves remove the SCOBY to a small glass or plastic container and cover it with 3-4 times its volume in kombucha.
- Cover the container with a rubber band and cheesecloth (see What to do Next below).
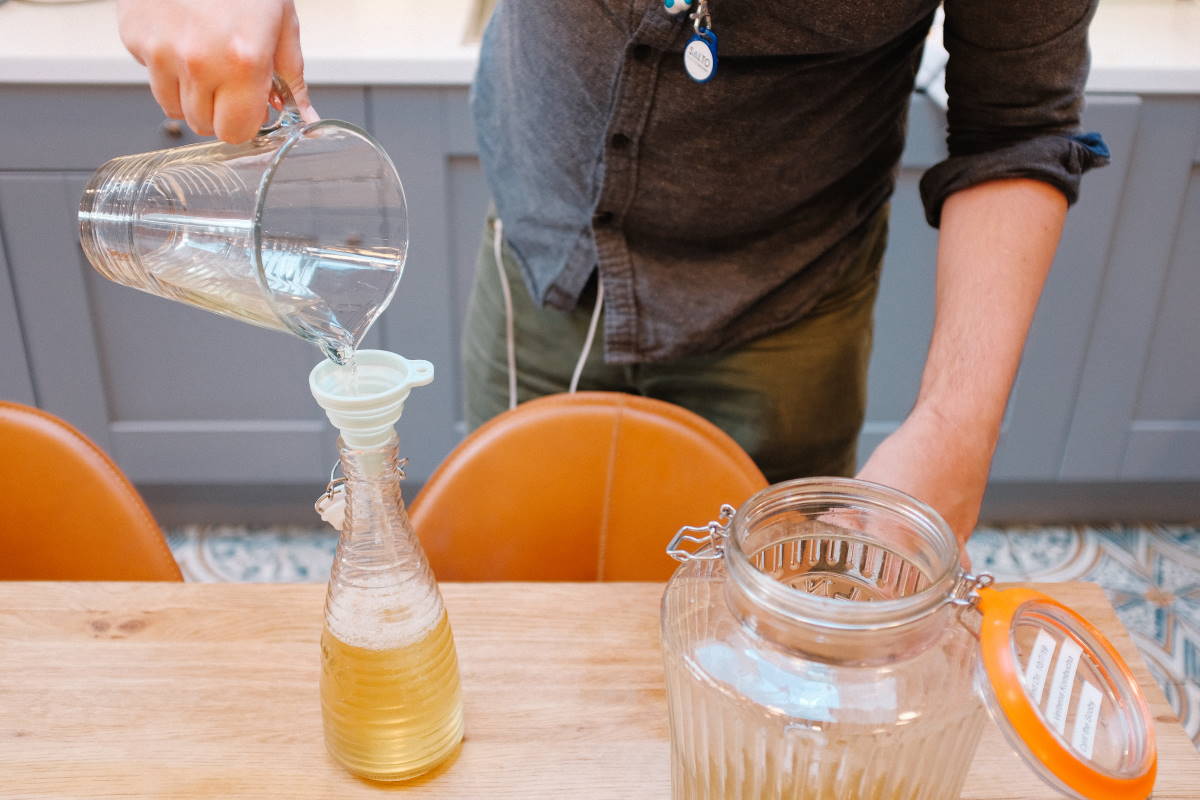
- Strain the remaining kombucha through a sieve lined with cheesecloth, and store in bottles in the fridge for up to 4-5 days.
Note: This process is known as backslopping. In order to start off the brewing, the SCOBY needs a mildly acidic environment, or else this can lead to the formation of water-soluble pathogenic molds. So, using a previous batch of unpasteurised kombucha provides this acidity. The liquid your SCOBY came stored in also has the desired acidity if it’s your first time.
Time for tasting!


Be careful trying kombucha for the first time. Unless you already consume a lot of fermented food, a large dose of kombucha can be a shock to the system! So, introduce it into your diet in moderation. For the first week, I would recommend no more than a glass a day and slowly increase the amount from there. I gently persuaded the FoodMarble team to try some of the bottled kombucha, after it had chilled in the fridge. In terms of taste, not to humble brag, but it was delicious! It could have done with an extra day or two of fermentation, as it was still slightly sweet, but the flavour was aromatically fruity from the lemon verbena, with the hint of sour from the fermentation. The best part is I was now left with the resources to start another batch straight away if I wanted to. So the question was, what do I do now?
What to do next
Your SCOBY is a living organism and needs care. If you intend on brewing another batch within the next couple of days it can be stored at room temperature in the kombucha you reserved it in.
However, if you are busy or want to leave it a week or two, you’ll need to store it in a sugar syrup (1:1 ratio of sugar and water, heated and cooled), equivalent to twice its weight. Also remember to reserve that unfiltered kombucha for backslopping the next batch. This sugar syrup mixture will need to be changed every 2-3 weeks. You can store it in the fridge to slow the rate at which it consumes the sugar syrup, however this will make your SCOBY go through a “wake-up” period when brewing, slowing the process.
Finally, it is also recommended to only use a SCOBY for brewing one flavour of kombucha. This is because it will pick up the flavour of what it ferments and can affect the flavour if you try something else. Luckily, I now have a large bag of dried lemon verbena so I will have delicious lemon verbena kombucha for weeks.
So go out there and get yourself a SCOBY and brew some boocha! Your gut and taste buds will thank you. You’ll be surprised at how quickly you’ll grow to love your SCOBY. We named ours here in the office – Cyril the SCOBY has his place and is a happy member of the FoodMarble team. RIP Steve – our failed SCOBY from the coffee batch.
FoodMarble AIRE is the world’s first personal hydrogen breath tester. It is a pocket-sized breath analysis device. It helps people with chronic digestive issues determine the foods that work best with their digestive system. To learn more about FoodMarble, visit foodmarble.com